Pulley SPA 80/3 for Taper Lock 1210 — Hubber
The offer includes the pulley alone. The bushing is not included and is sold separately.
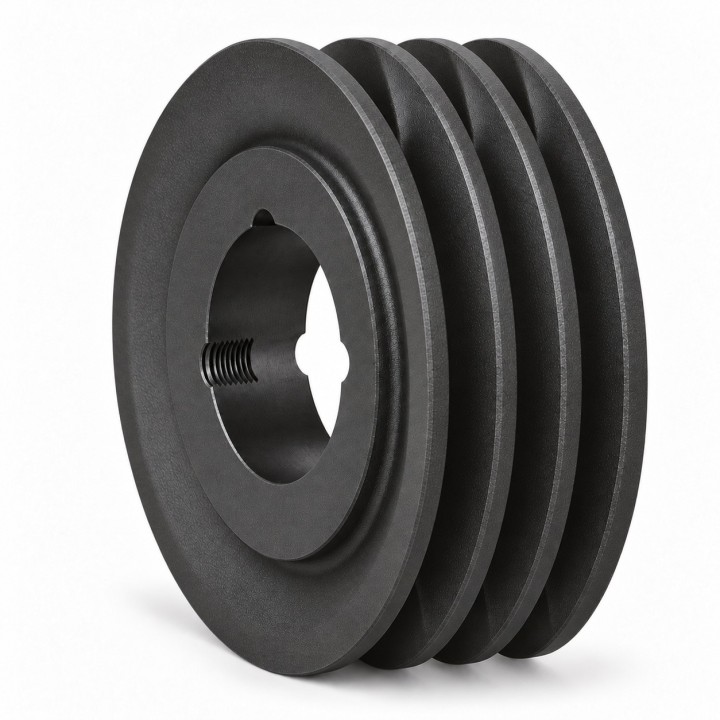
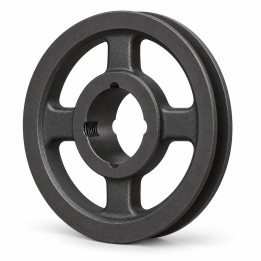
Cast-iron Hubber SPA 80/3 pulley with three grooves for a belt drive. Mounting on a shaft requires a separately selected Taper Lock 1210 bushing. The bushing type does not denote shaft diameter.
Select a Taper Lock bushing for this pulley
Required type: 1210. Select the bore to fit the shaft. The selected Hubber bushings are purchased separately; a tile opens the product card and does not add it to the basket automatically.
Bushing price and availability are on its card. These are three selected bores, not the full range of type 1210. The category for the entire series may contain different brands.
Dimensions and specifications
| Manufacturer | Hubber |
|---|
| Designation | TB SPA 80/3 |
|---|
| Pulley profile | SPA |
|---|
| Number of grooves | 3 |
|---|
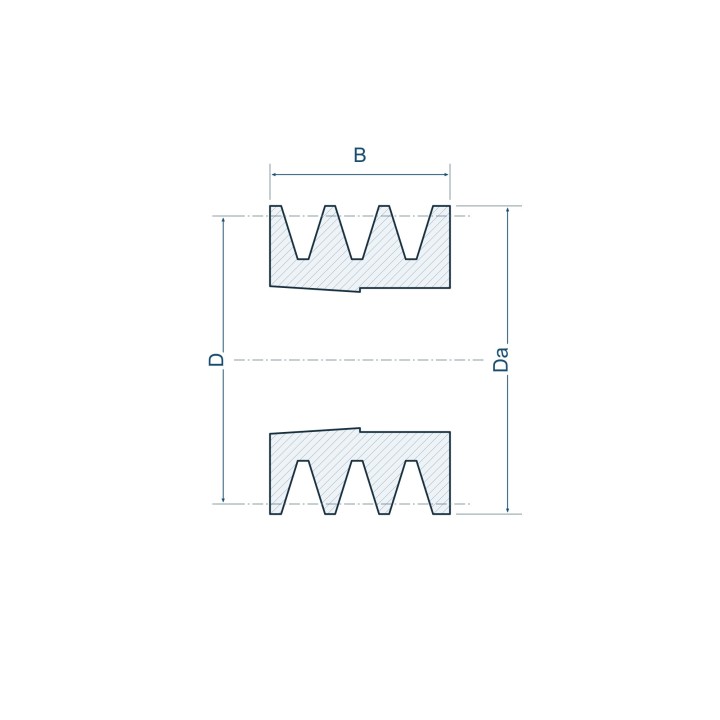
| Datum diameter D | 80 mm |
|---|
| Outside diameter Da | 85,6 mm |
|---|
| Rim width B | 50 mm |
|---|
| Bushing type | Taper Lock 1210 — separately |
|---|
| Material | Cast iron |
|---|
| Belt profiles | A, HA, AX, SPA, XPA |
|---|
| Design | Solid pulley |
|---|
| OEM code | AT00803 |
|---|
| Mass of the pulley alone | 0,860 kg |
|---|
Selection and applications
Check the profile and permitted minimum pulley diameter for the belt used, transmission ratio, speed and drive load. Select bushing 1210 to match both the pulley seat and shaft diameter. Pulley and bushing are ordered as two separate products. NERON in Piła helps select industrial drive components.
Taper Lock 1210 bushing installation tips
- Before work, stop the drive, disconnect power and secure the machine against starting.
- Check type 1210 compatibility, bushing bore against shaft diameter, and key connection requirements. Clean mating surfaces; do not fit to a damaged shaft.
- Seat the bushing and pulley and fit the screws in the assembly holes in the sequence specified in the instructions supplied with the Hubber bushing.
- Use a torque wrench and the torque specified by the manufacturer of the specific bushing. If you do not have this value, obtain it before installation; do not tighten by feel.
- Check pulley alignment, belt tension and guards according to the machine documentation. Remove according to the bushing instructions, without random blows or excessive force.
These are brief selection and installation tips, not a substitute for the manufacturer's instructions.
The graphic is a shared original illustrative visualisation of a three-groove pulley with an empty seat, without a bushing. The table specifies the dimensions of the particular variant, not the graphic's proportions.
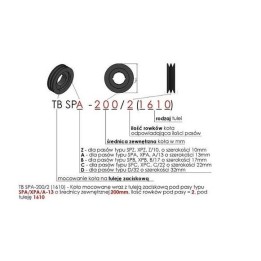
The illustrative diagram shows D — datum diameter, Da — outside diameter, B — rim width. Dimension values are in the table. The diagram is not for measurement or production.



Comments (0)
Your review appreciation cannot be sent
Report comment
Report sent
Your report cannot be sent